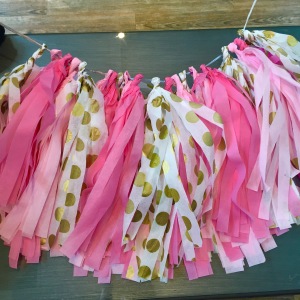
If you've been by the store lately you've seen the tissue paper garland in the window. I've had a number of customers ask where they could buy one or if we sold the garland. It is so simple to make and looks great so I thought I would do a little tutorial on how to make your own!
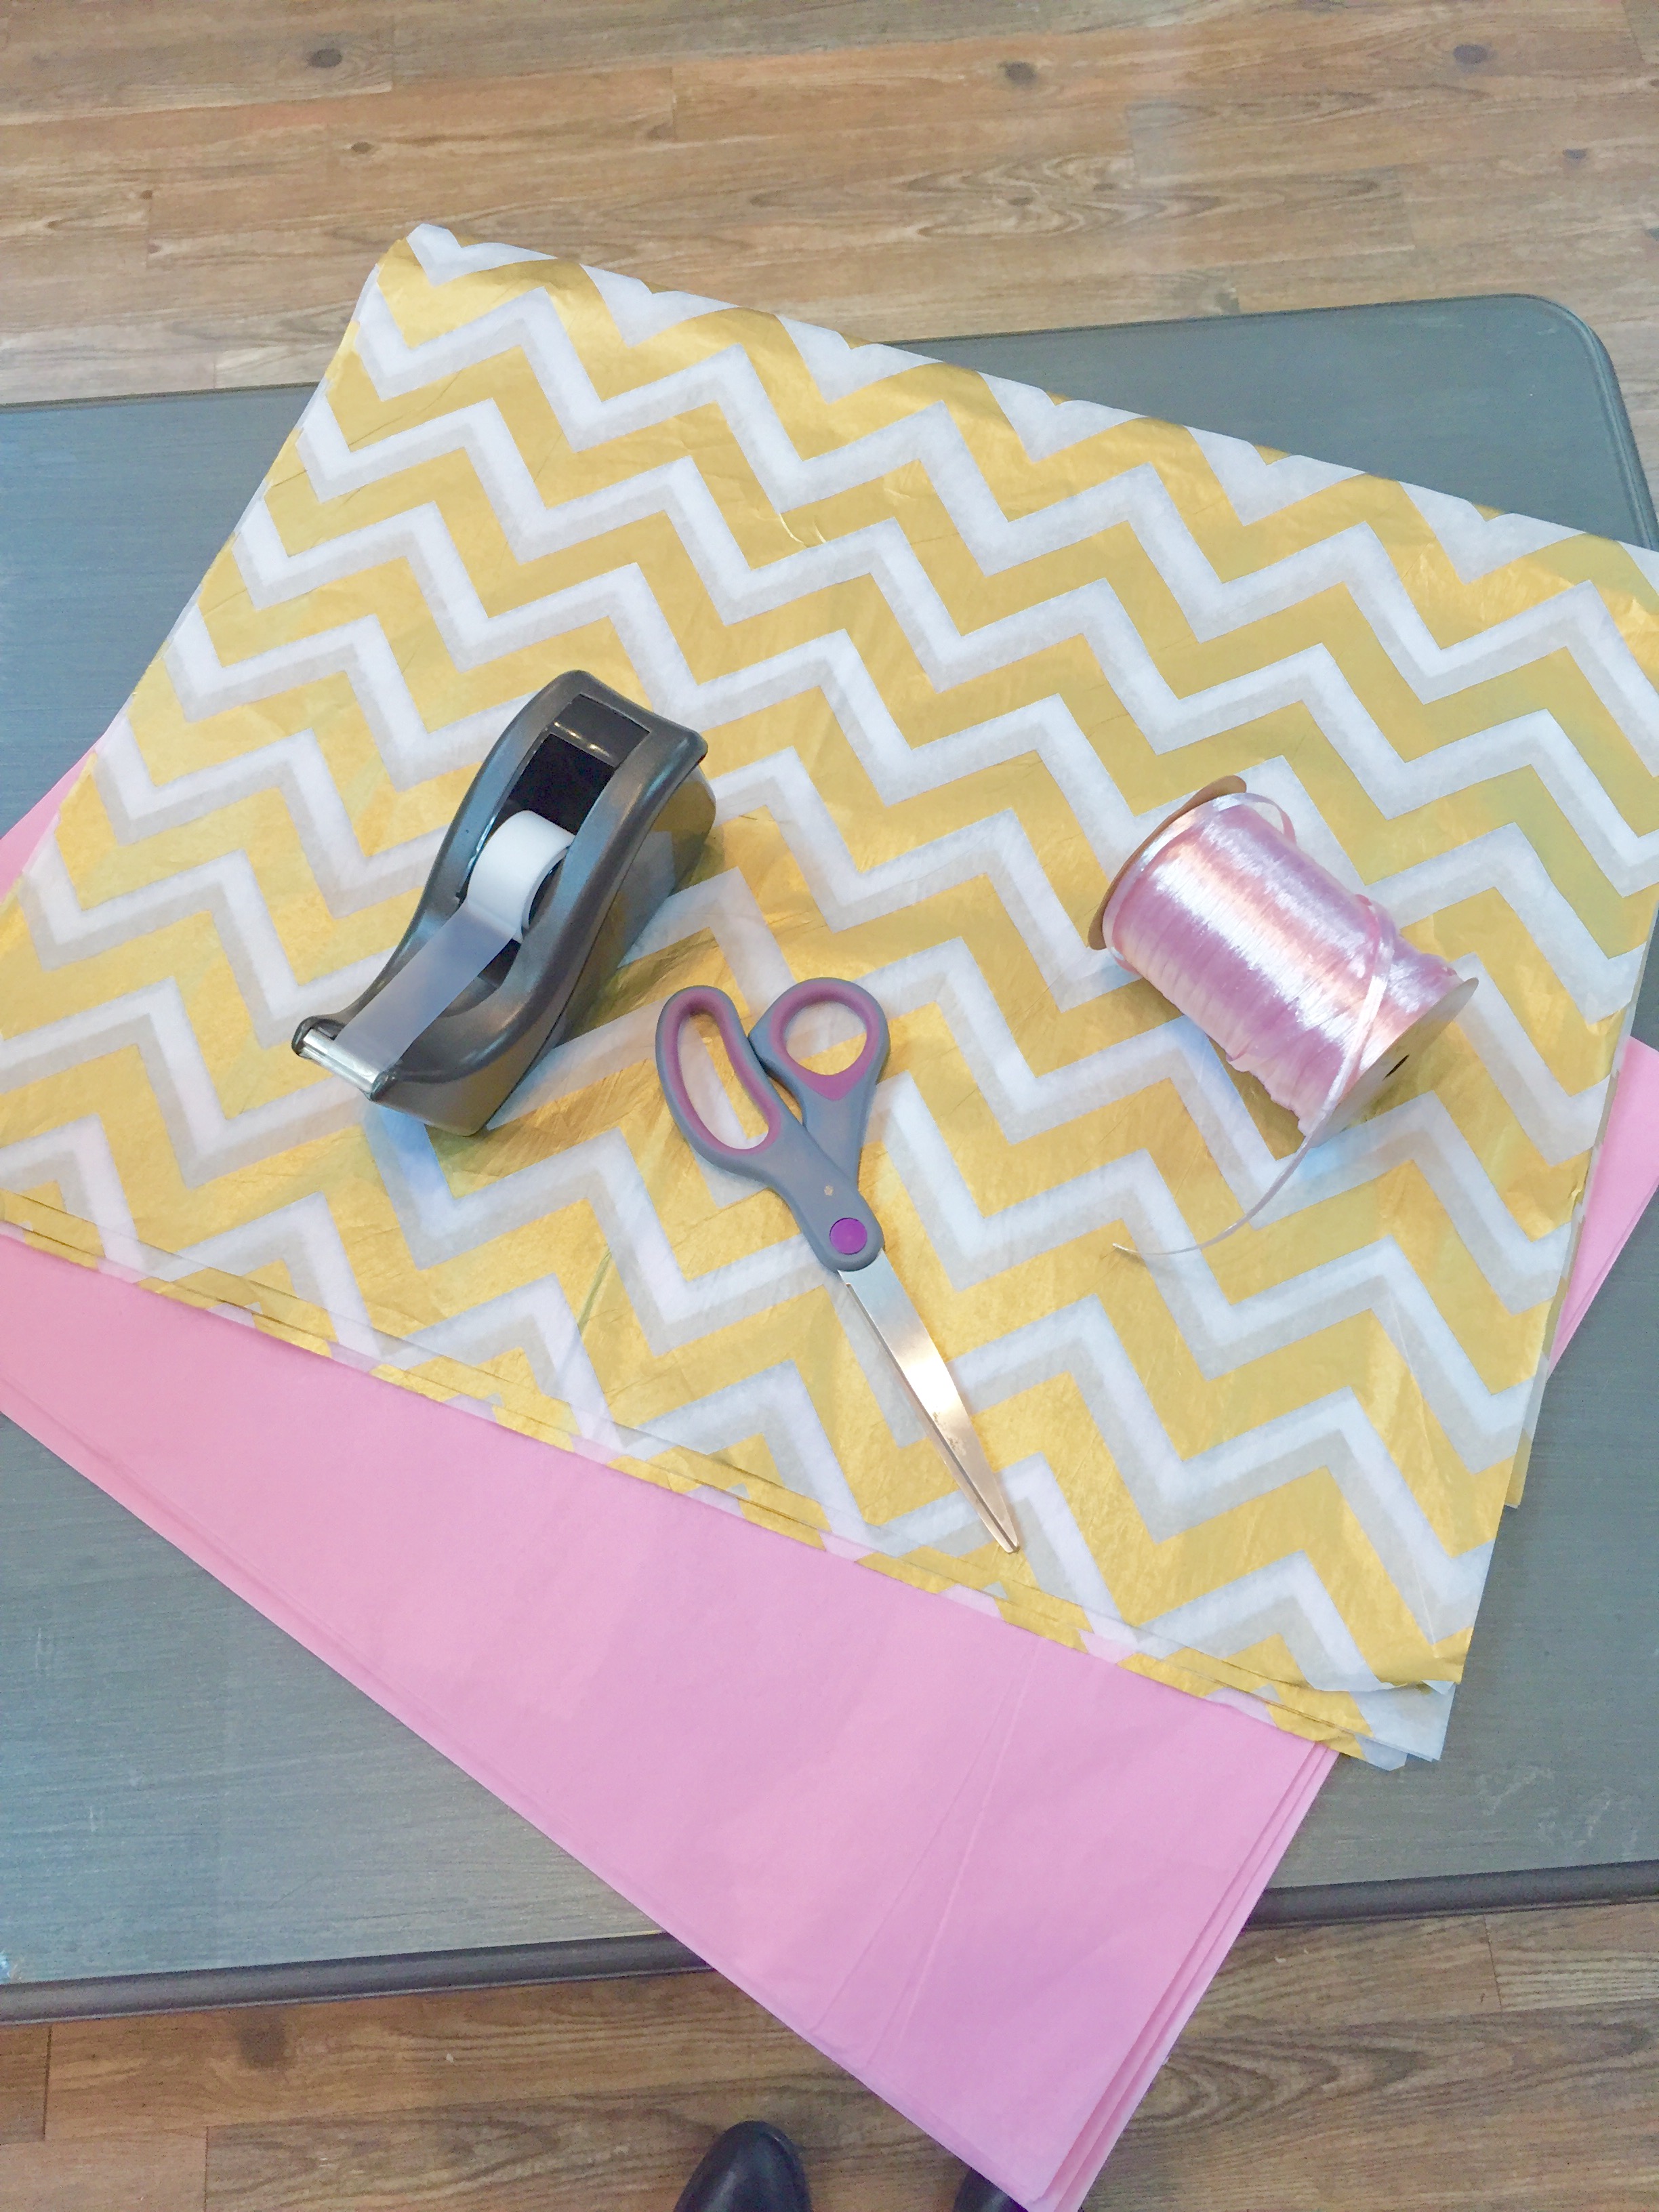
Supplies you will need:
– Several packs of tissue paper
This depends on desired length and fullness of your garland. Color? Whatever your little heart desires!
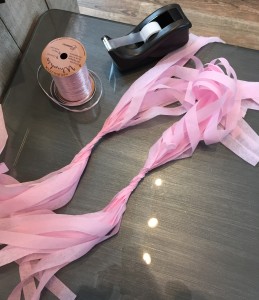
– Raffia Ribbon
This is what we had on hand at the store but I would suggest a light string or ribbon.
– Scissors
– Tape
You may or may not need this for the making of the garland. You will need it to hang the garland though!
Okay, I’m going to list out my steps but remember that there really isn’t a super exact way to do this. I am having some serious flash backs to a fifth grade project I had to do where I had to write out the steps and instructions to making a pb&j sandwich which I later had to present in front of the class. Ahh the days where making a sandwich in front of a bunch of fifth graders was my biggest worry. Okay back to the garland!
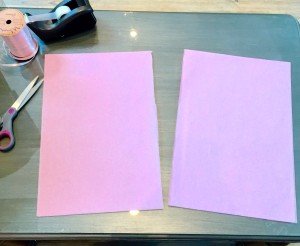
First start with your folded in half tissue paper. You will want to cut it in half again making two 10inch wide folded sections.

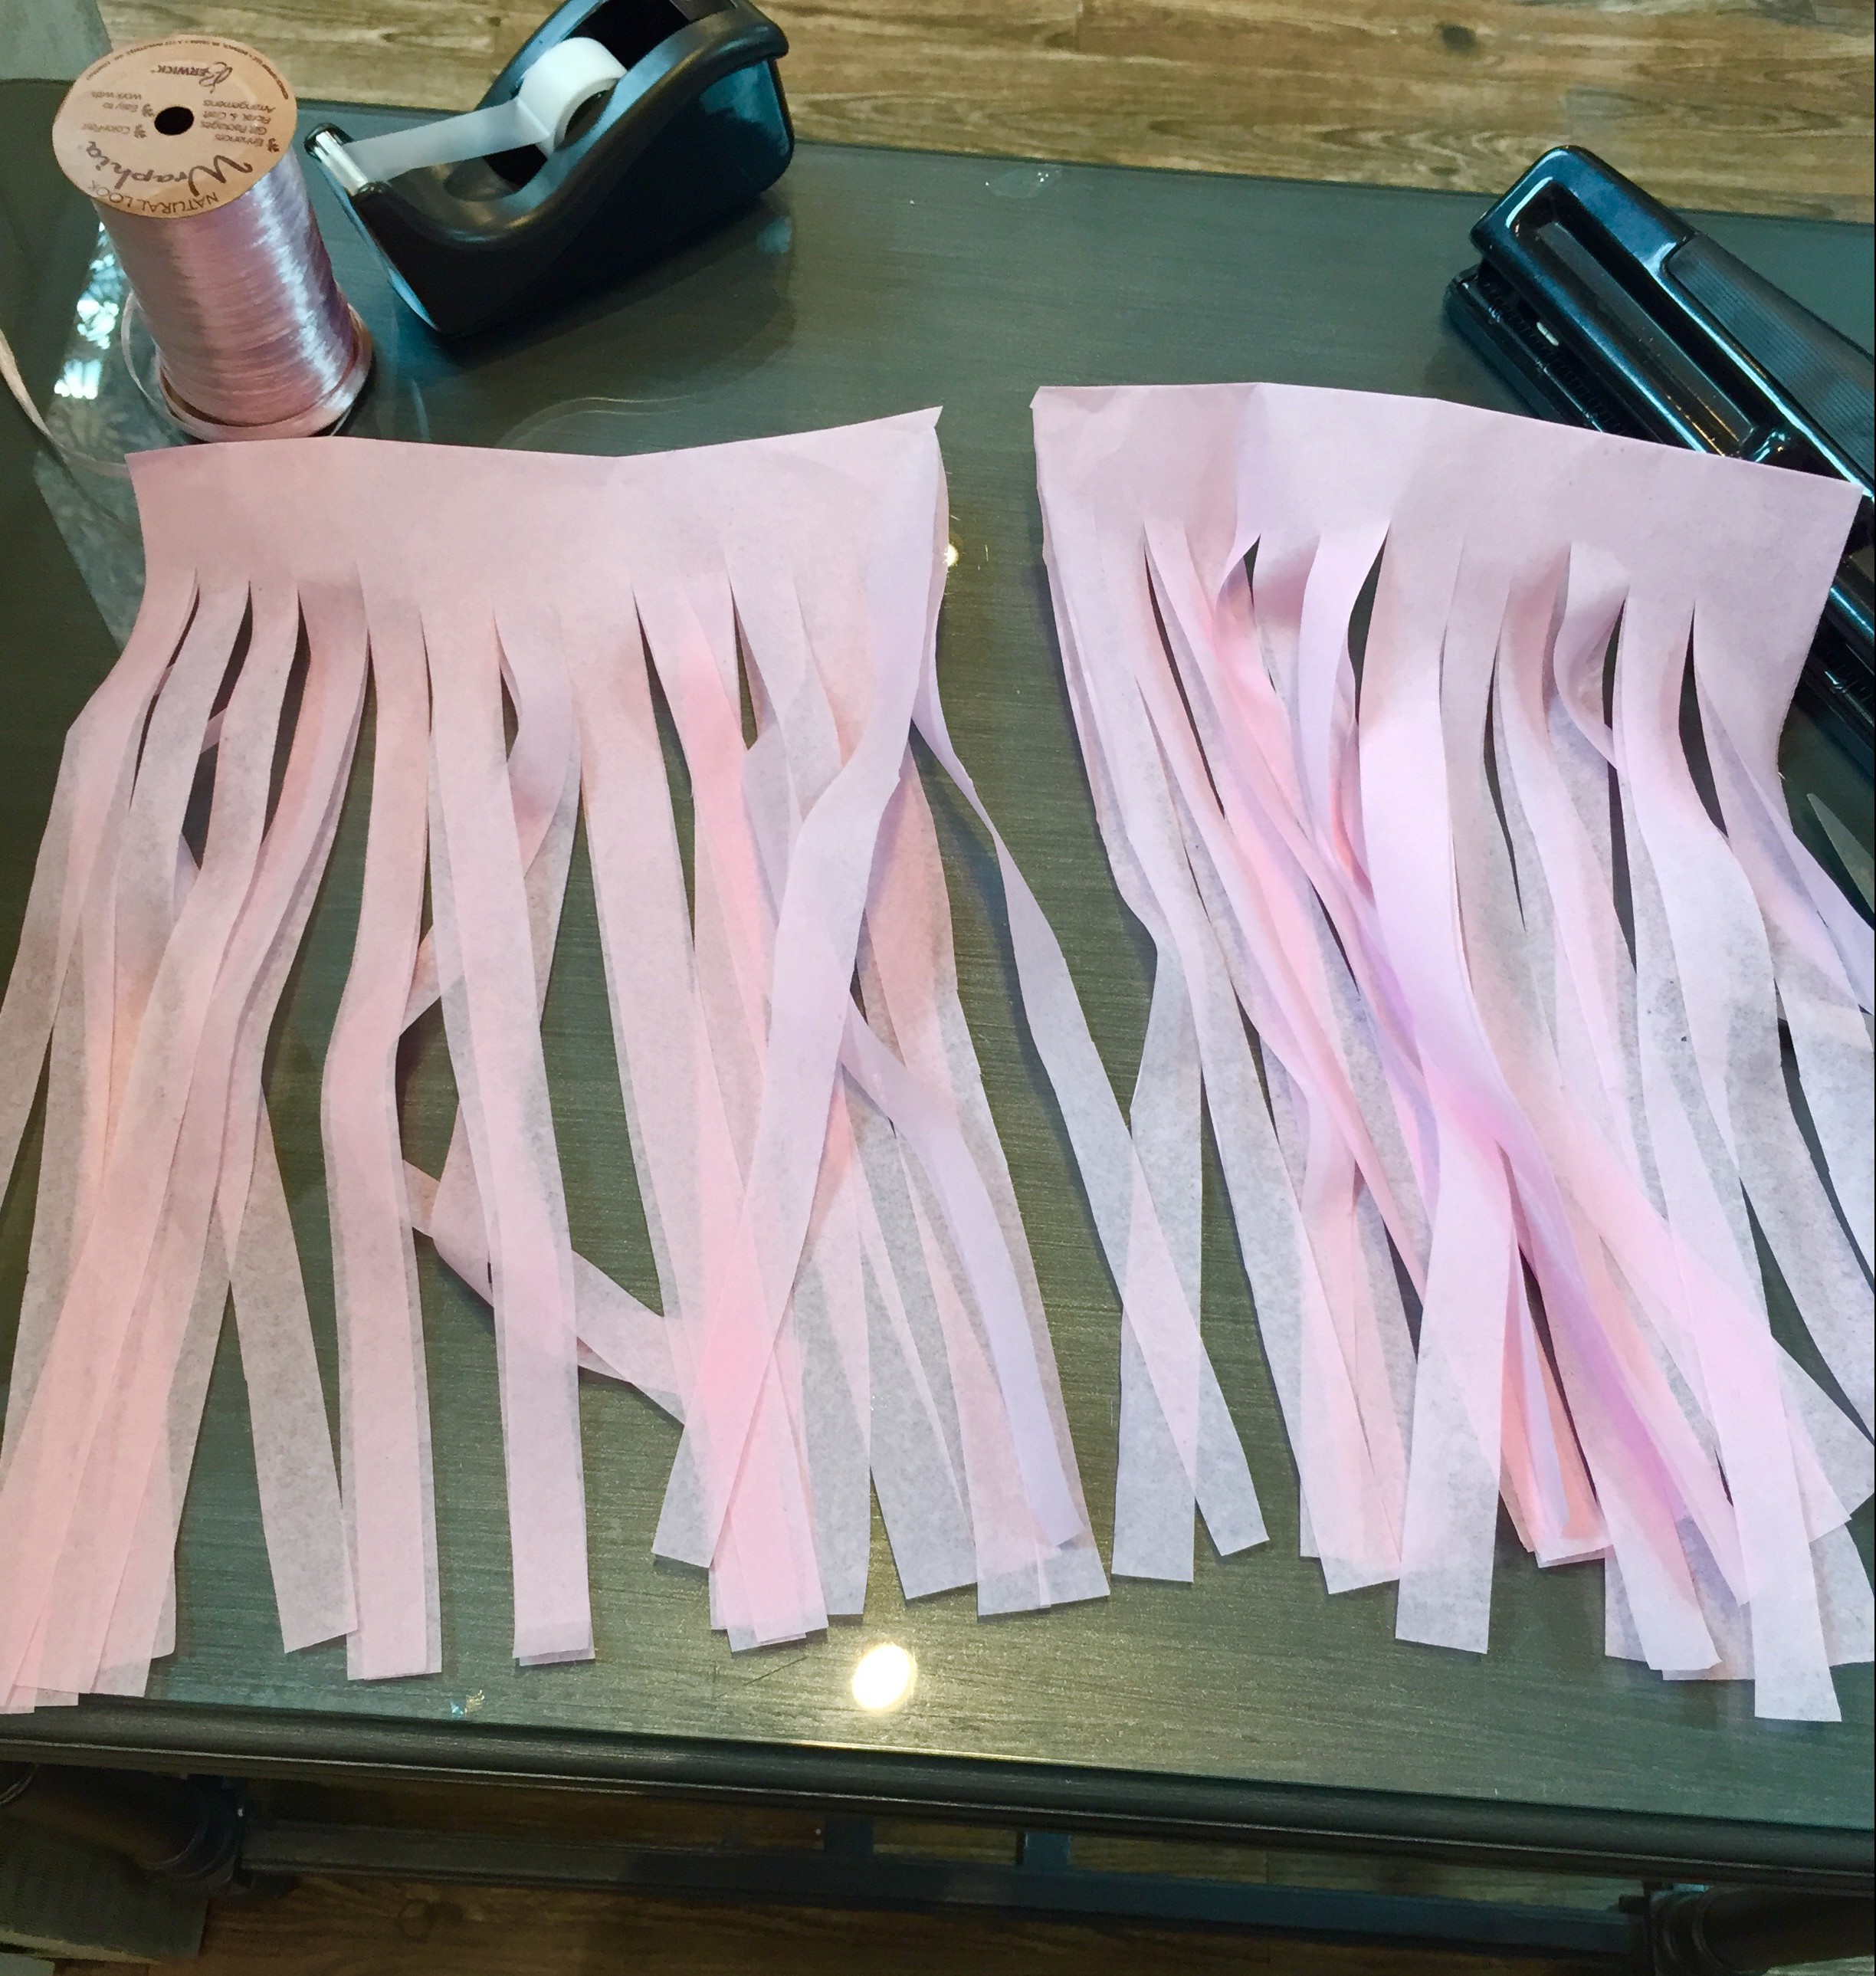
Layer the two 10inch wide sections on top of each other. With the fold at the top proceed to cut 1inch (DOES NOT HAVE TO BE PREFECT) wide strips up the sheets of tissue. You will want to stop about an 1inch to 1.5inch before the fold.

Carefully separate the two sheets of tissue paper. (Trust me this step is necessary! I took them apart all willy-nilly and ended up ripping all the little tassels.

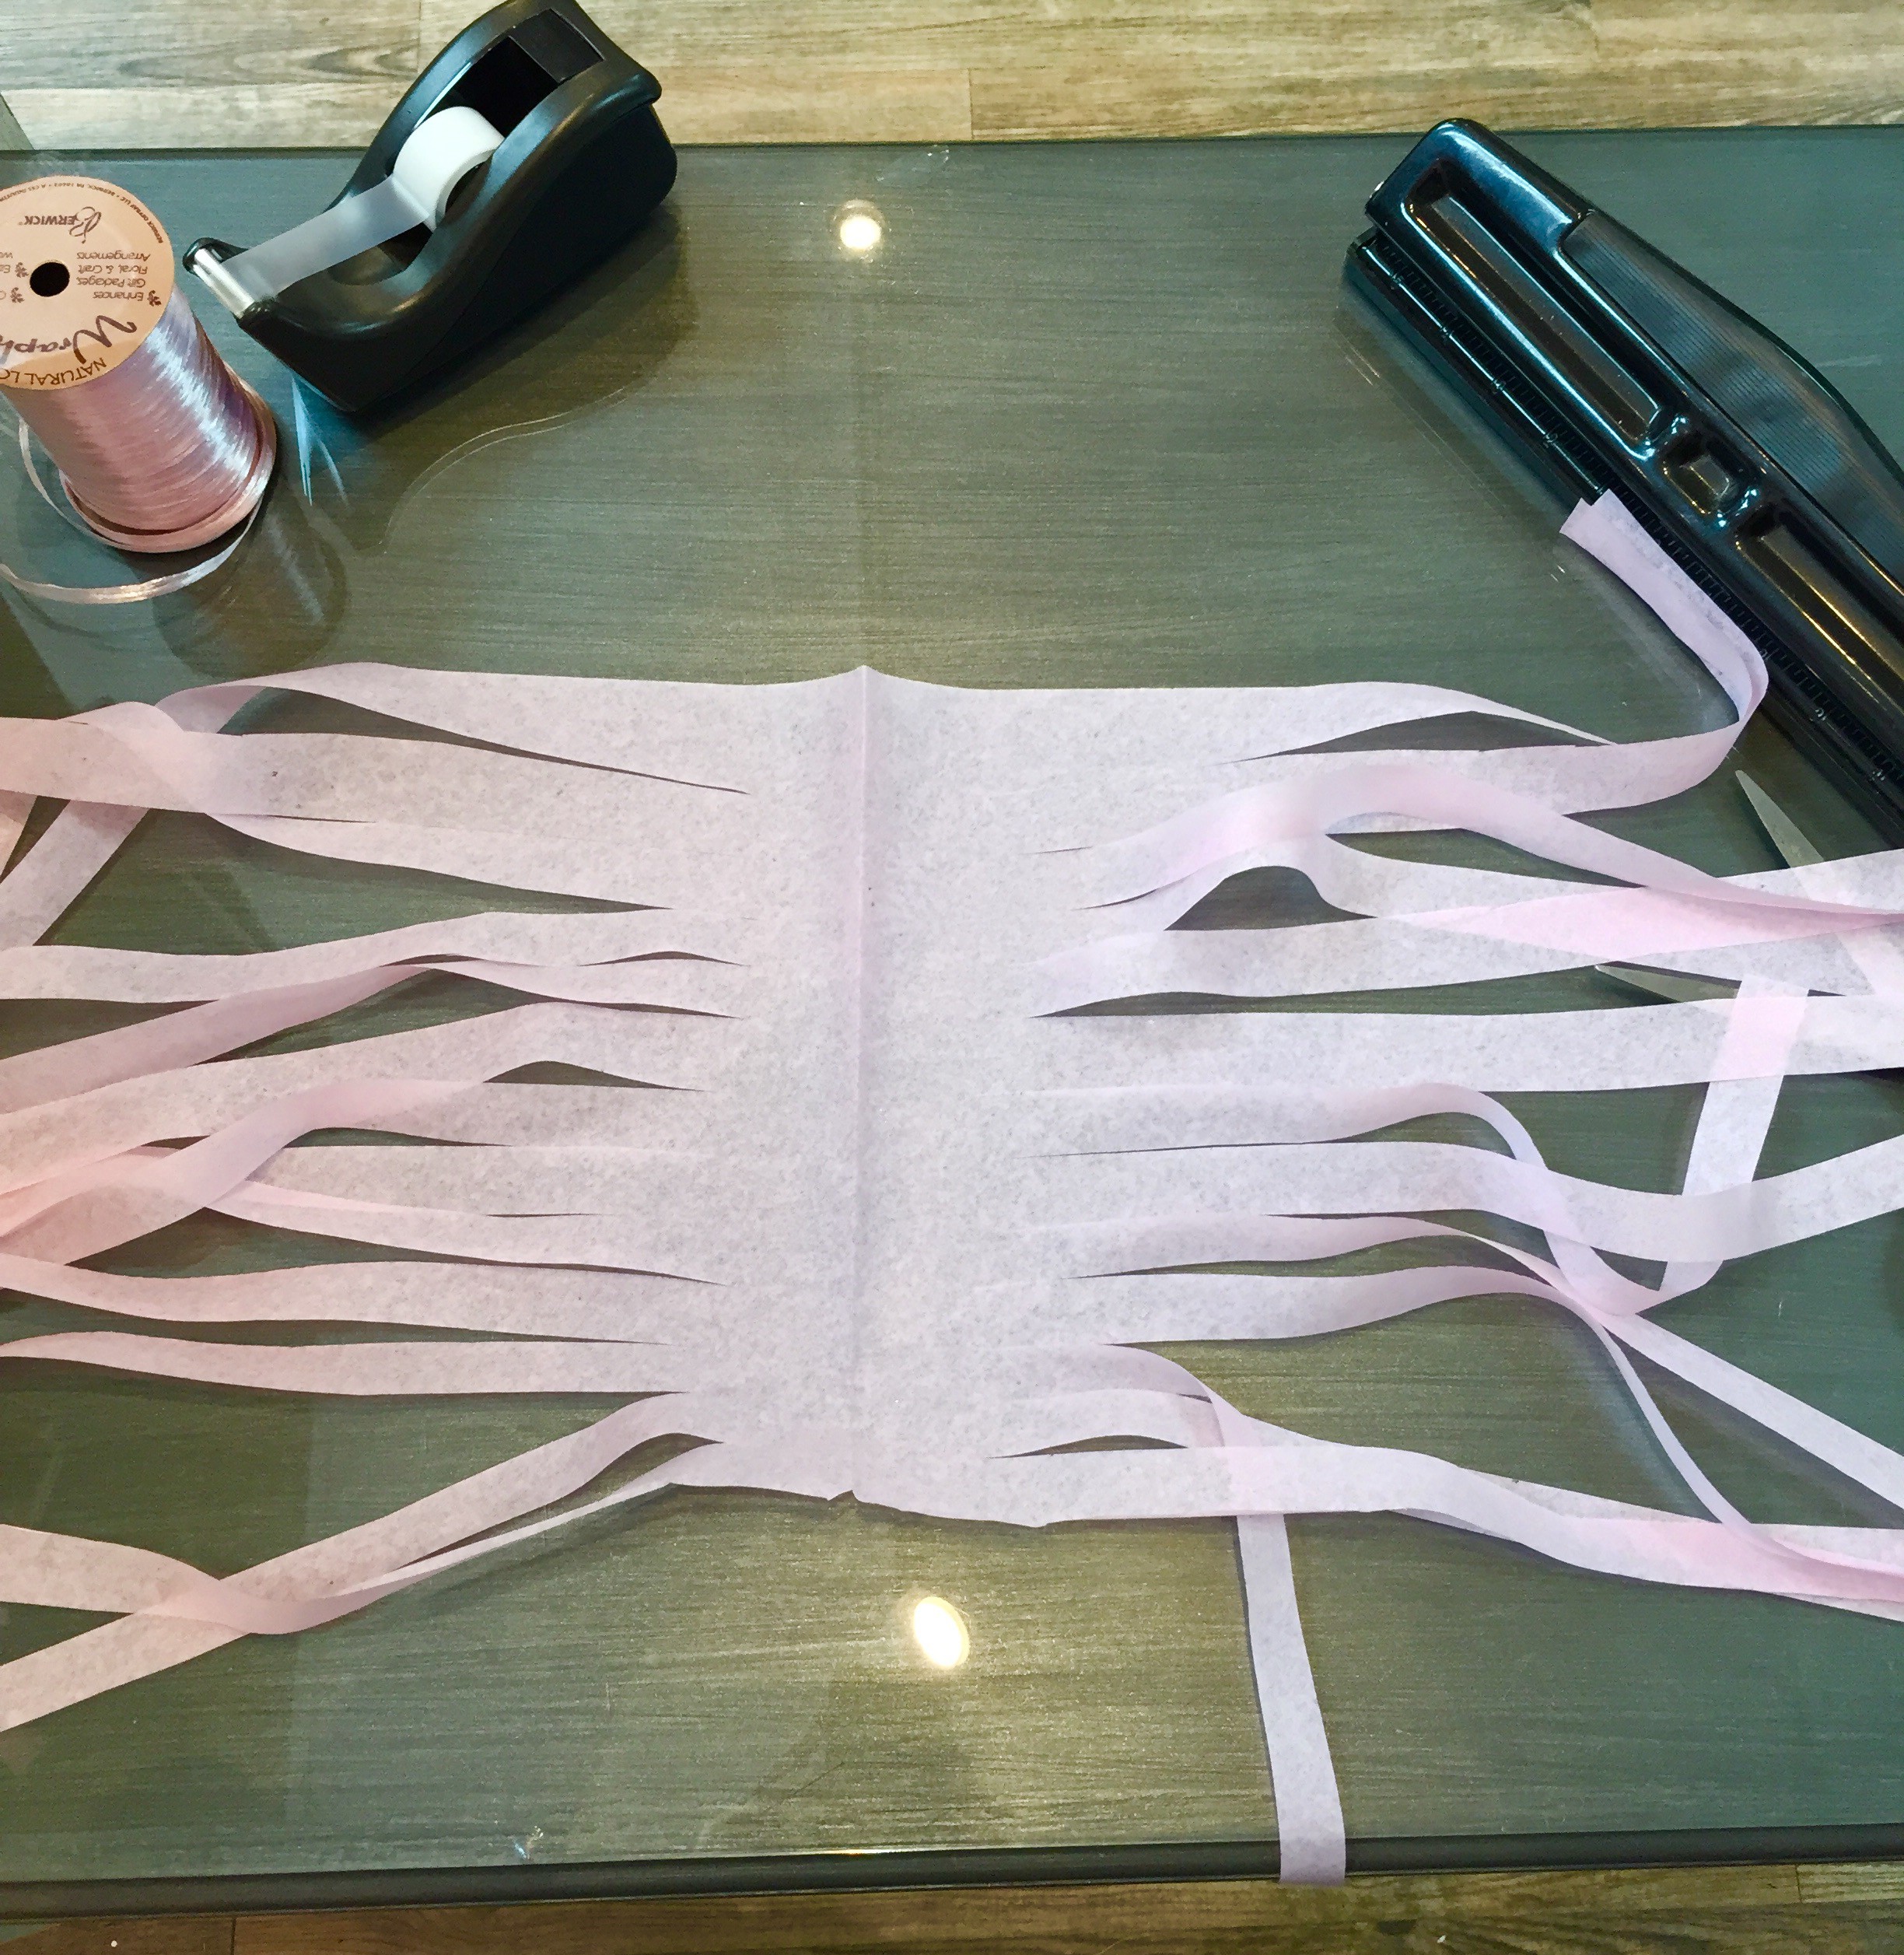
One at a time, unfold and lay out the sheet.
Gather and twist the uncut middle section (At this point you may be thinking to yourself “What am I doing? This isn’t going to work.” Just power through)
You will end up with something that looks like this. In the pictures I’ve only made two but in real life I had twenty at a time. Granted I was making a rather large garland.
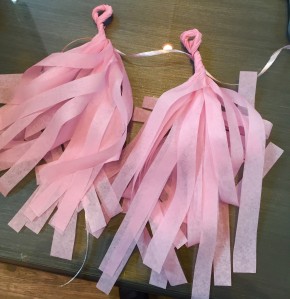
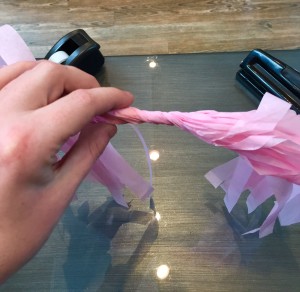
Now is where it starts to look like tassels. Fold each strip in half and twist so that you have a loop at the top. I didn’t make my loops too small to begin with since you will go back and tighten them at the end.

Cut your string to whatever length is needed. And get to threading those tassels. Once you have all your tassels threaded go back and tighten them by twisting them more. I had to use tape to keep a couple of min in place. Now I made the one for the store really full since it was going in the window but I’ve seen them very minimal as well. Really it’s all about playing with it and having fun until you get it to look like you want!
If you have any questions or comments let me know below. I’d love to see your tissue paper garlands!
-Kaitlyn